Installation
For at kunne installere Microsoft Active Directory-synkronisering i Telavox skal du først installere Microsoft Admin Connect -appen. Dette gøres ved at navigere til vores admin-portal og åbne App Directory og derefter vælge Alle apps øverst på siden. Gå derefter ind på Microsoft Admin Connect for at læse om appen og installere den.
Når Admin Connect-appen er installeret, vil du være i stand til at navigere til Microsoft Active Directory Sync- appen for at installere den. Når dette er gjort, skal du administrere indstillingerne for integrationen.
Status
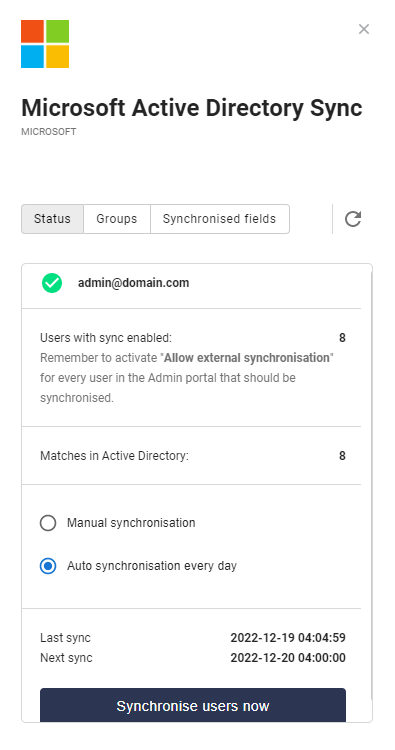
Statusfanen viser, hvilken konto synkroniseringen er udført med, samt hvor mange brugere der har synkroniseringen aktiveret og hvor mange der findes i din AD.
Du kan endda vælge, om du ønsker at have en manuel eller automatisk synkronisering hver dag.
I bunden af fanen har du en knap til en manuel synkronisering, samt tidspunktet for seneste og næste synkronisering.
For at aktivere Tillad ekstern synkronisering for en bruger skal du gå til Brugere > Andre indstillinger. Herefter vælger du brugeren, og indstillingen nederst på listen, til højre. Det er muligt at masseredigere denne indstilling, så du kan ændre den for flere brugere.
Grupper
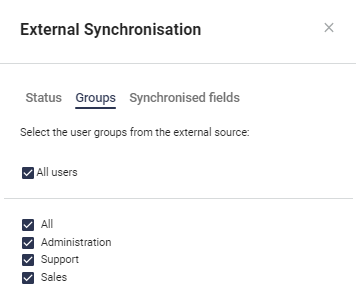
Fanen Grupper bruges til at bestemme hvilke grupper (i din AD) systemet skal hente informationer fra. Hvis du kun vil begrænse dette for nogle grupper, kan du gøre det her.
Synkroniserede felter
Fanen Synkroniserede felter bruges til at vælge, hvilke kontaktfelter i Telavox der skal synkroniseres, samt hvilke felter i din AD de skal synkroniseres med. Hvis du ikke ønsker at synkronisere et bestemt felt, skal du blot vælge Synkroniser ikke på listen.
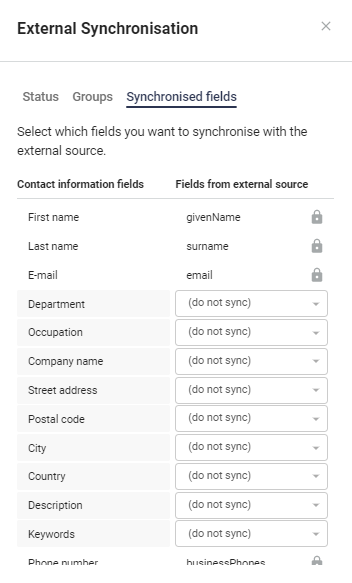
De forskellige felter, du kan vælge at synkronisere, er:
Land
Erhvervstelefoner
Mobiltelefon
Post
Vejnavn
By
Efternavn
Givet navn
Firmanavn
Jobtitel
Postnummer
Afdeling
Synkroniseringen kan også hente feltet onPremisesExtensionAttributes. For eksempel extensionAttribute1 og extensionAttribute2 og så videre hele vejen indtil 15.
Funktioner
Den primære funktionalitet i AD-synkroniseringen er, at alle kontaktfelter for synkroniserede brugere opdateres automatisk, uden at du skal opdatere dem manuelt - hvis du har oplysningerne gemt i din AD, og brugerne er synkroniseret, opdateres samme information også til Telavox. Ud over dette er der nogle andre funktioner, som efterfølges af AD-synkroniseringen.
Husk, at indstillinger og funktionaliteter kun er tilgængelige for brugere, der har tilladelse til at administrere AD-synkroniseringen.
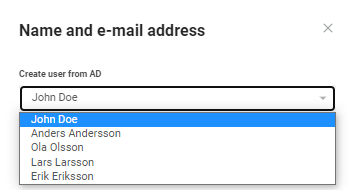
Opret bruger
Når du tilføjer en ny bruger, er der et nyt felt, som viser alle de personer, der blev fundet i din AD (feltet vises ikke, hvis AD-synkroniseringen ikke fandt personer i din AD).
Vælger du en person fra listen, udfyldes personens fornavn, efternavn, e-mailadresse og afdeling automatisk. Den bruger, der så oprettes, vil også automatisk have indstillingen Tillad ekstern synkronisering sat til "Tillad".
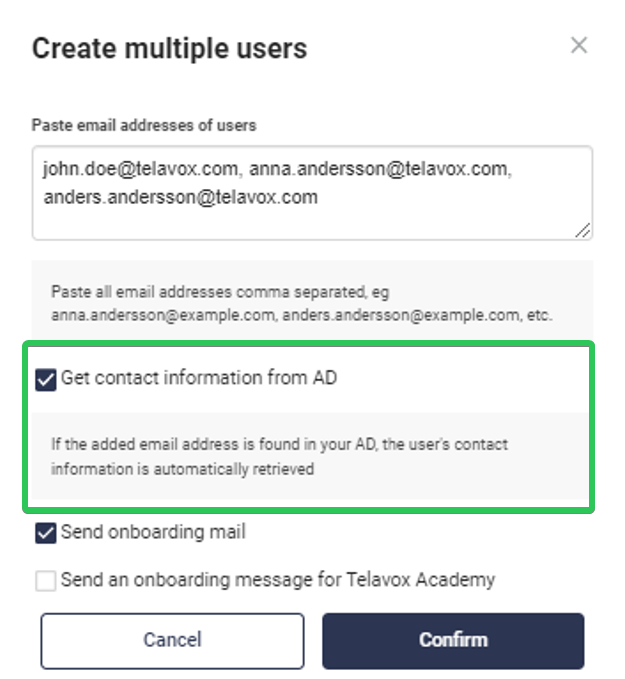
Opret flere brugere
Funktionaliteten Opret flere brugere får sit eget afkrydsningsfelt, hvilket betyder, at de brugere der oprettes automatisk får deres kontaktoplysninger udfyldt, hvis e-mailadressen synkroniseres gennem din AD.
Microsoft Single Sign-On
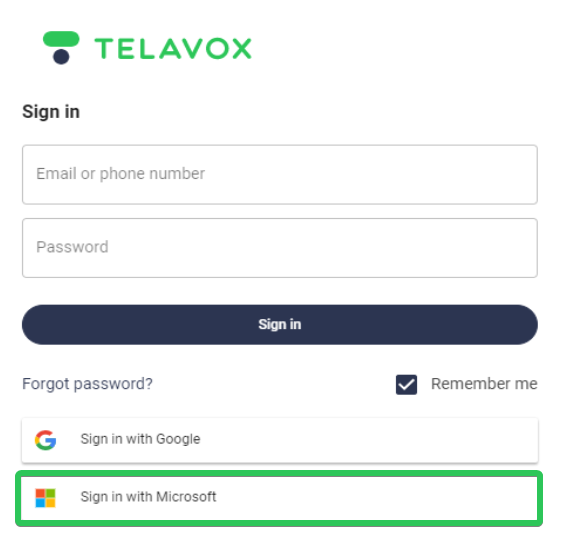
Når en bruger aktivt er synkroniseret til din AD, kan denne bruger logge på med Microsoft SSO (Single Sign-On) til Telavox-applikationen. Brugeren behøver ikke engang at oprette en adgangskode til Telavox eller logge ind for først at oprette forbindelse til sin Microsoft-konto. Hvis du vil, kan du logge ind på Admin-portalen og gå til Brugere > Konto og login for at ændre Login-metoder fra Tillad alle login-metoder til Kun eksterne konti, så brugeren er tvunget til at logge på med SSO.
